


Stickers have been a great addition to sell in my Etsy shop. I was hesitant at first to spend time creating stickers that only sell for $3-$5 because the profit margins are small, but I quickly found that stickers are a desirable product and a nice upsell to increase order values! In this post, I’ll share with you how to create a die-cut sticker from your watercolor illustrations. Before we dive in, let me highlight a few reasons why I love creating and selling stickers!
Why you should sell stickers
- Stickers are a great way to increase order values as a quick add on
- Stickers are the perfect way for customers to support small shops. Customers who may not make a big purchase will happily make a small purchase from a shop.
- Stickers can be placed on water bottles and planners, which are great daily reminders of your brand.
- Stickers are super easy to ship. I simply place my stickers inside of an envelope and purchase a label for a one ounce letter through Etsy. This label option even comes with tracking! I do offer free shipping on sticker orders online, so this is something to take into consideration when setting prices for an online shop versus selling at in person art markets.
What supplies do you need to create stickers?
When it comes to creating quality stickers, the tools I use are:
- Watercolor supplies (Visit my Amazon shop to see my favorites!)
- Scanner
- MacBook Pro Laptop
- Adobe Photoshop
These are some of my most used tools within my business, so keep in mind if you are looking to create other products from your watercolor, these tools can be used for everything you create!
Where do you print stickers?
I know many artists who print their stickers at home and use a Cricut machine to die-cut their stickers. I personally outsource the printing of my stickers because to me, the quality is unmatched at home. Sticker Mule is my go to for printer for stickers. Their stickers are super durable and water resistant so they can be run through the dishwasher many times. Quality is my top priority when it comes to selling products, so I like to leave printing to the pros. If you want to give Sticker Mule a try, grab this $10 credit towards your next sticker purchase through my link!
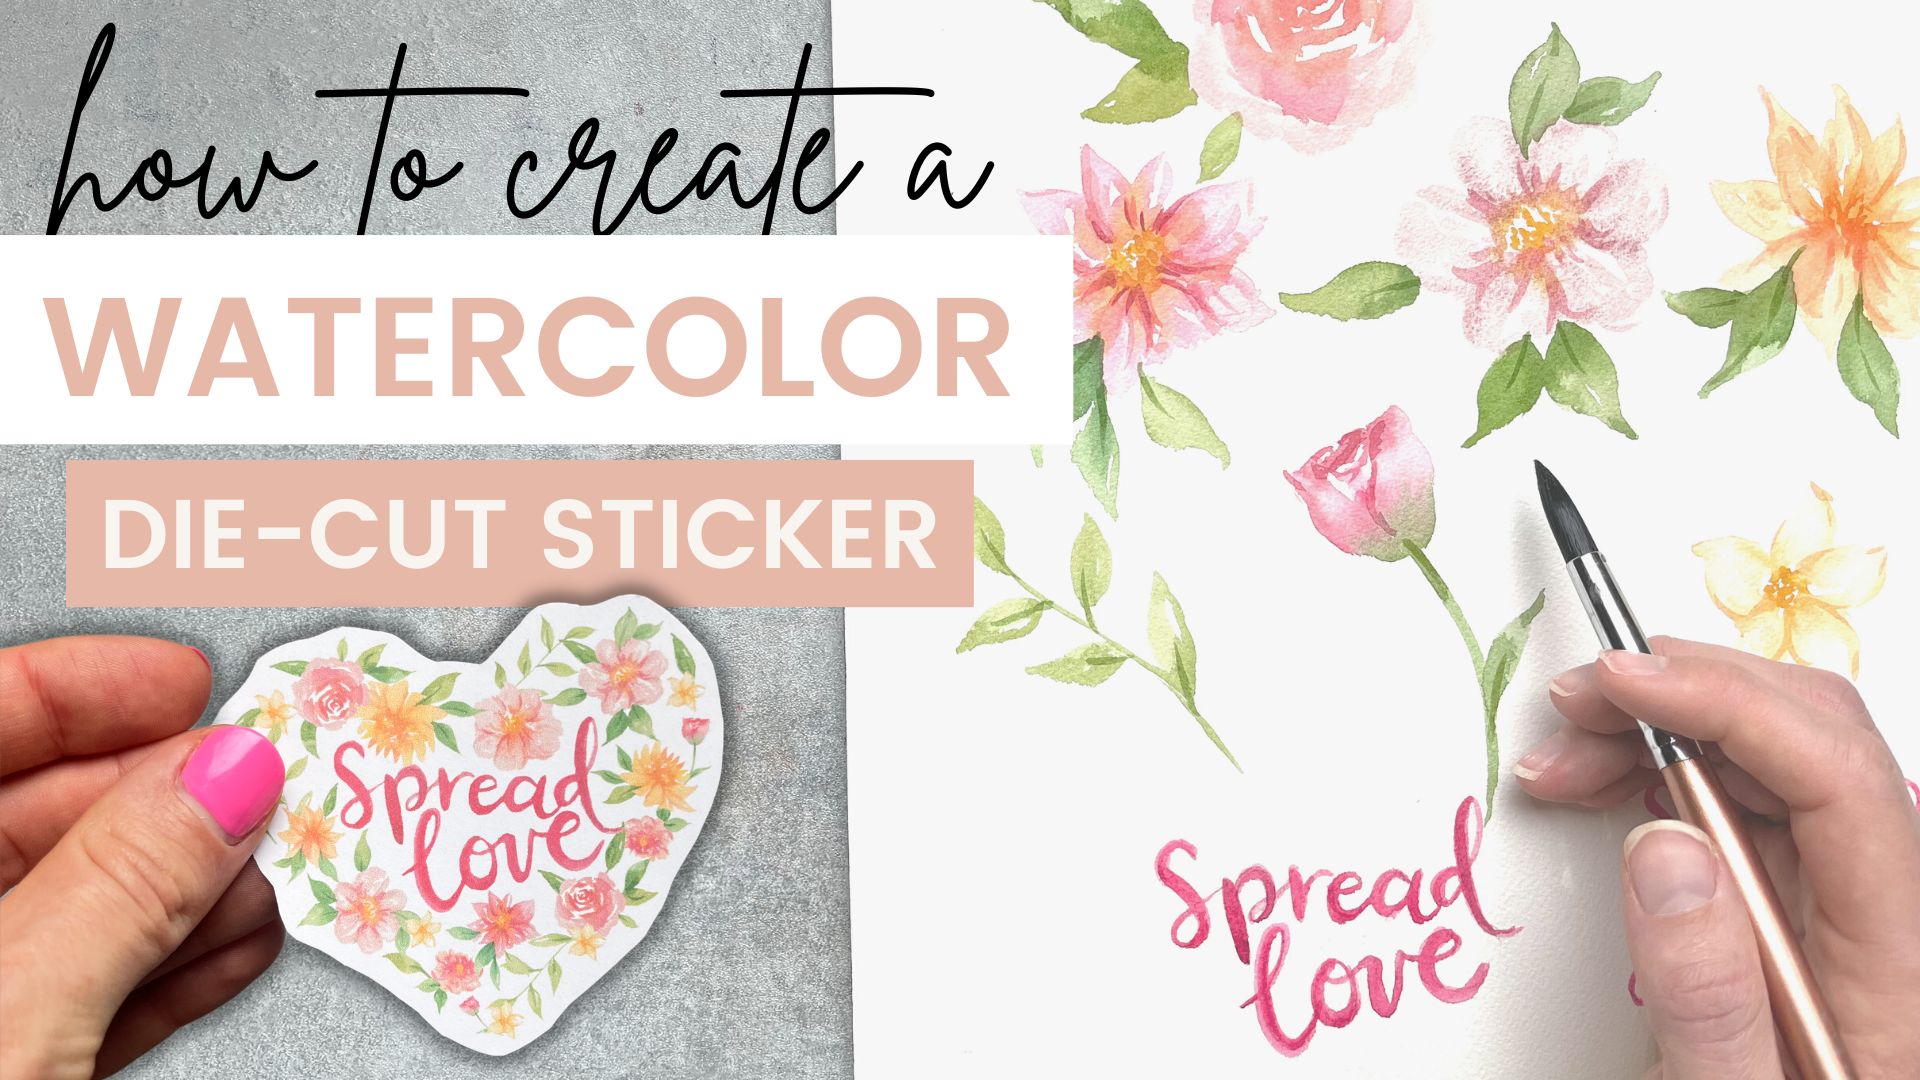
How to create die-cut watercolor stickers
I design stickers from my hand painted watercolor illustrations. Once I paint my watercolor pieces, I digitize the artwork by scanning it into my computer, remove the paper background and design the sticker inside of Adobe Photoshop. Digitizing allows me to create many different products from my watercolor paintings such as stickers, mugs, tea towels, wedding invitations and so much more!
In this tutorial, I’ll be sharing a peek into my digitizing watercolor process. If you are interested in learning more about digitizing and creating products from your watercolor artwork, check out Digitizing Watercolor Secrets (get on the waitlist here). It’s my step-by-step guide and mini course that walks you through how to turn your paintings into profitable products.

Step 1: Create the artwork
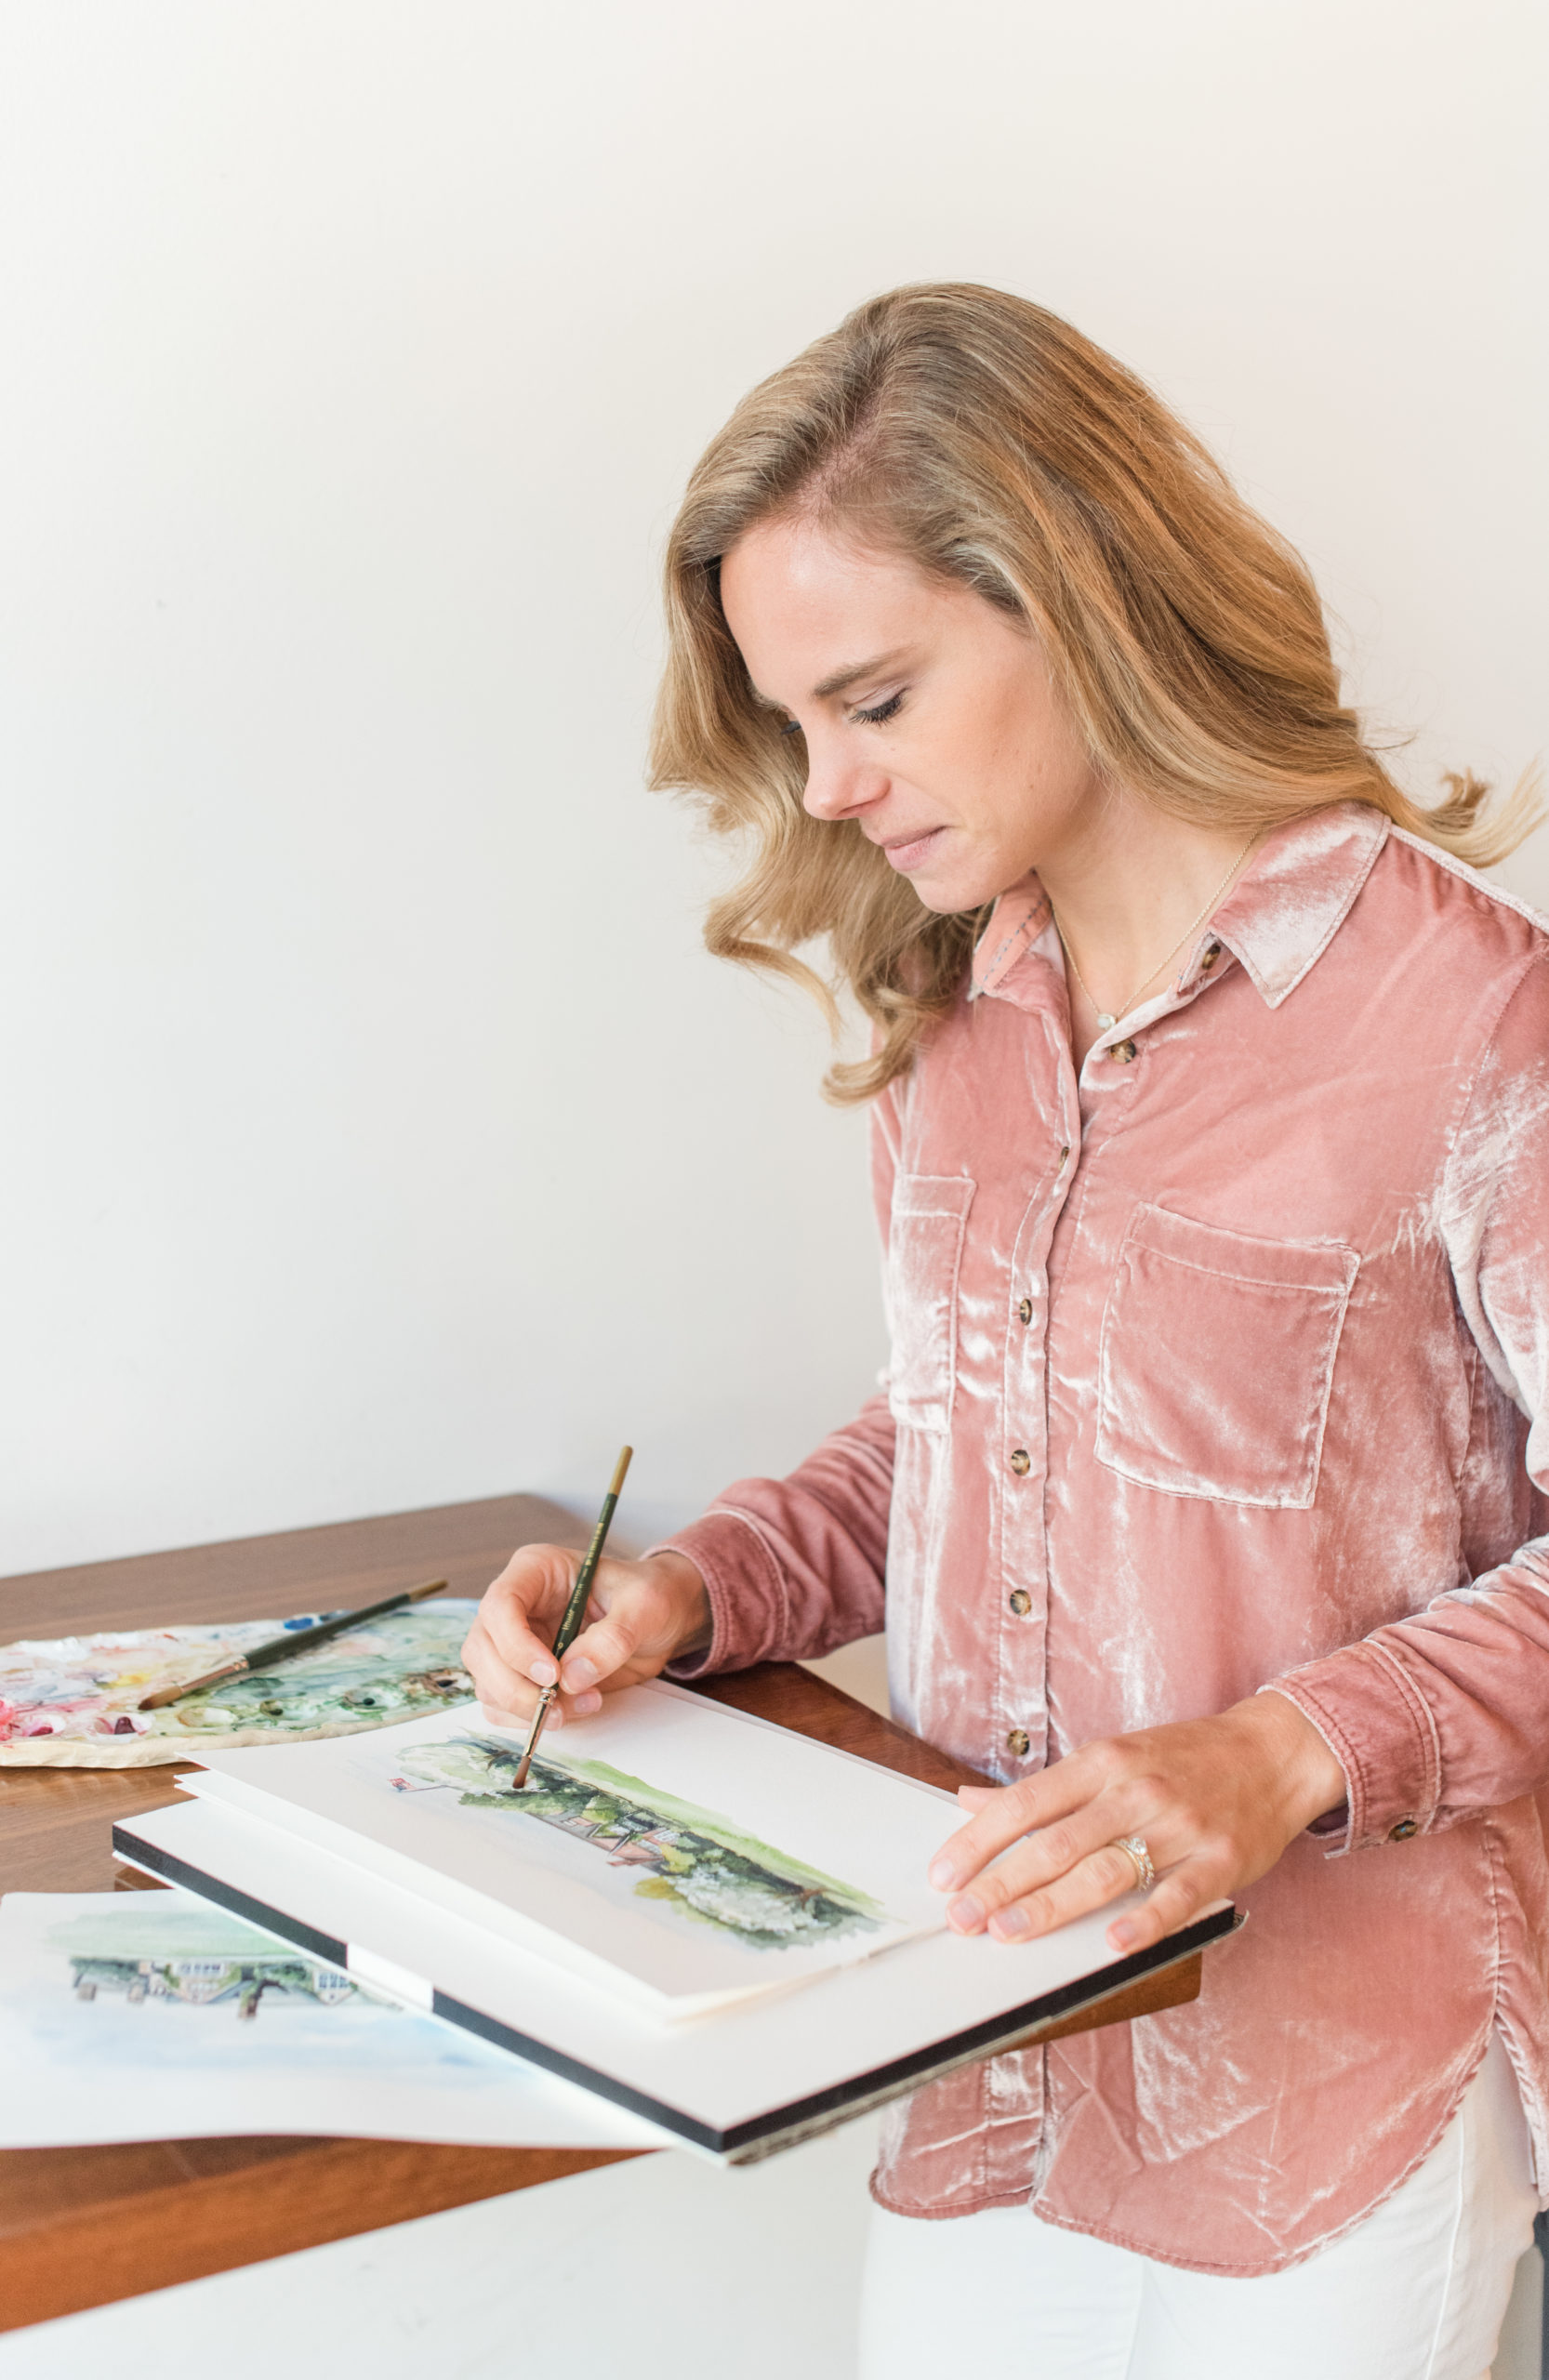
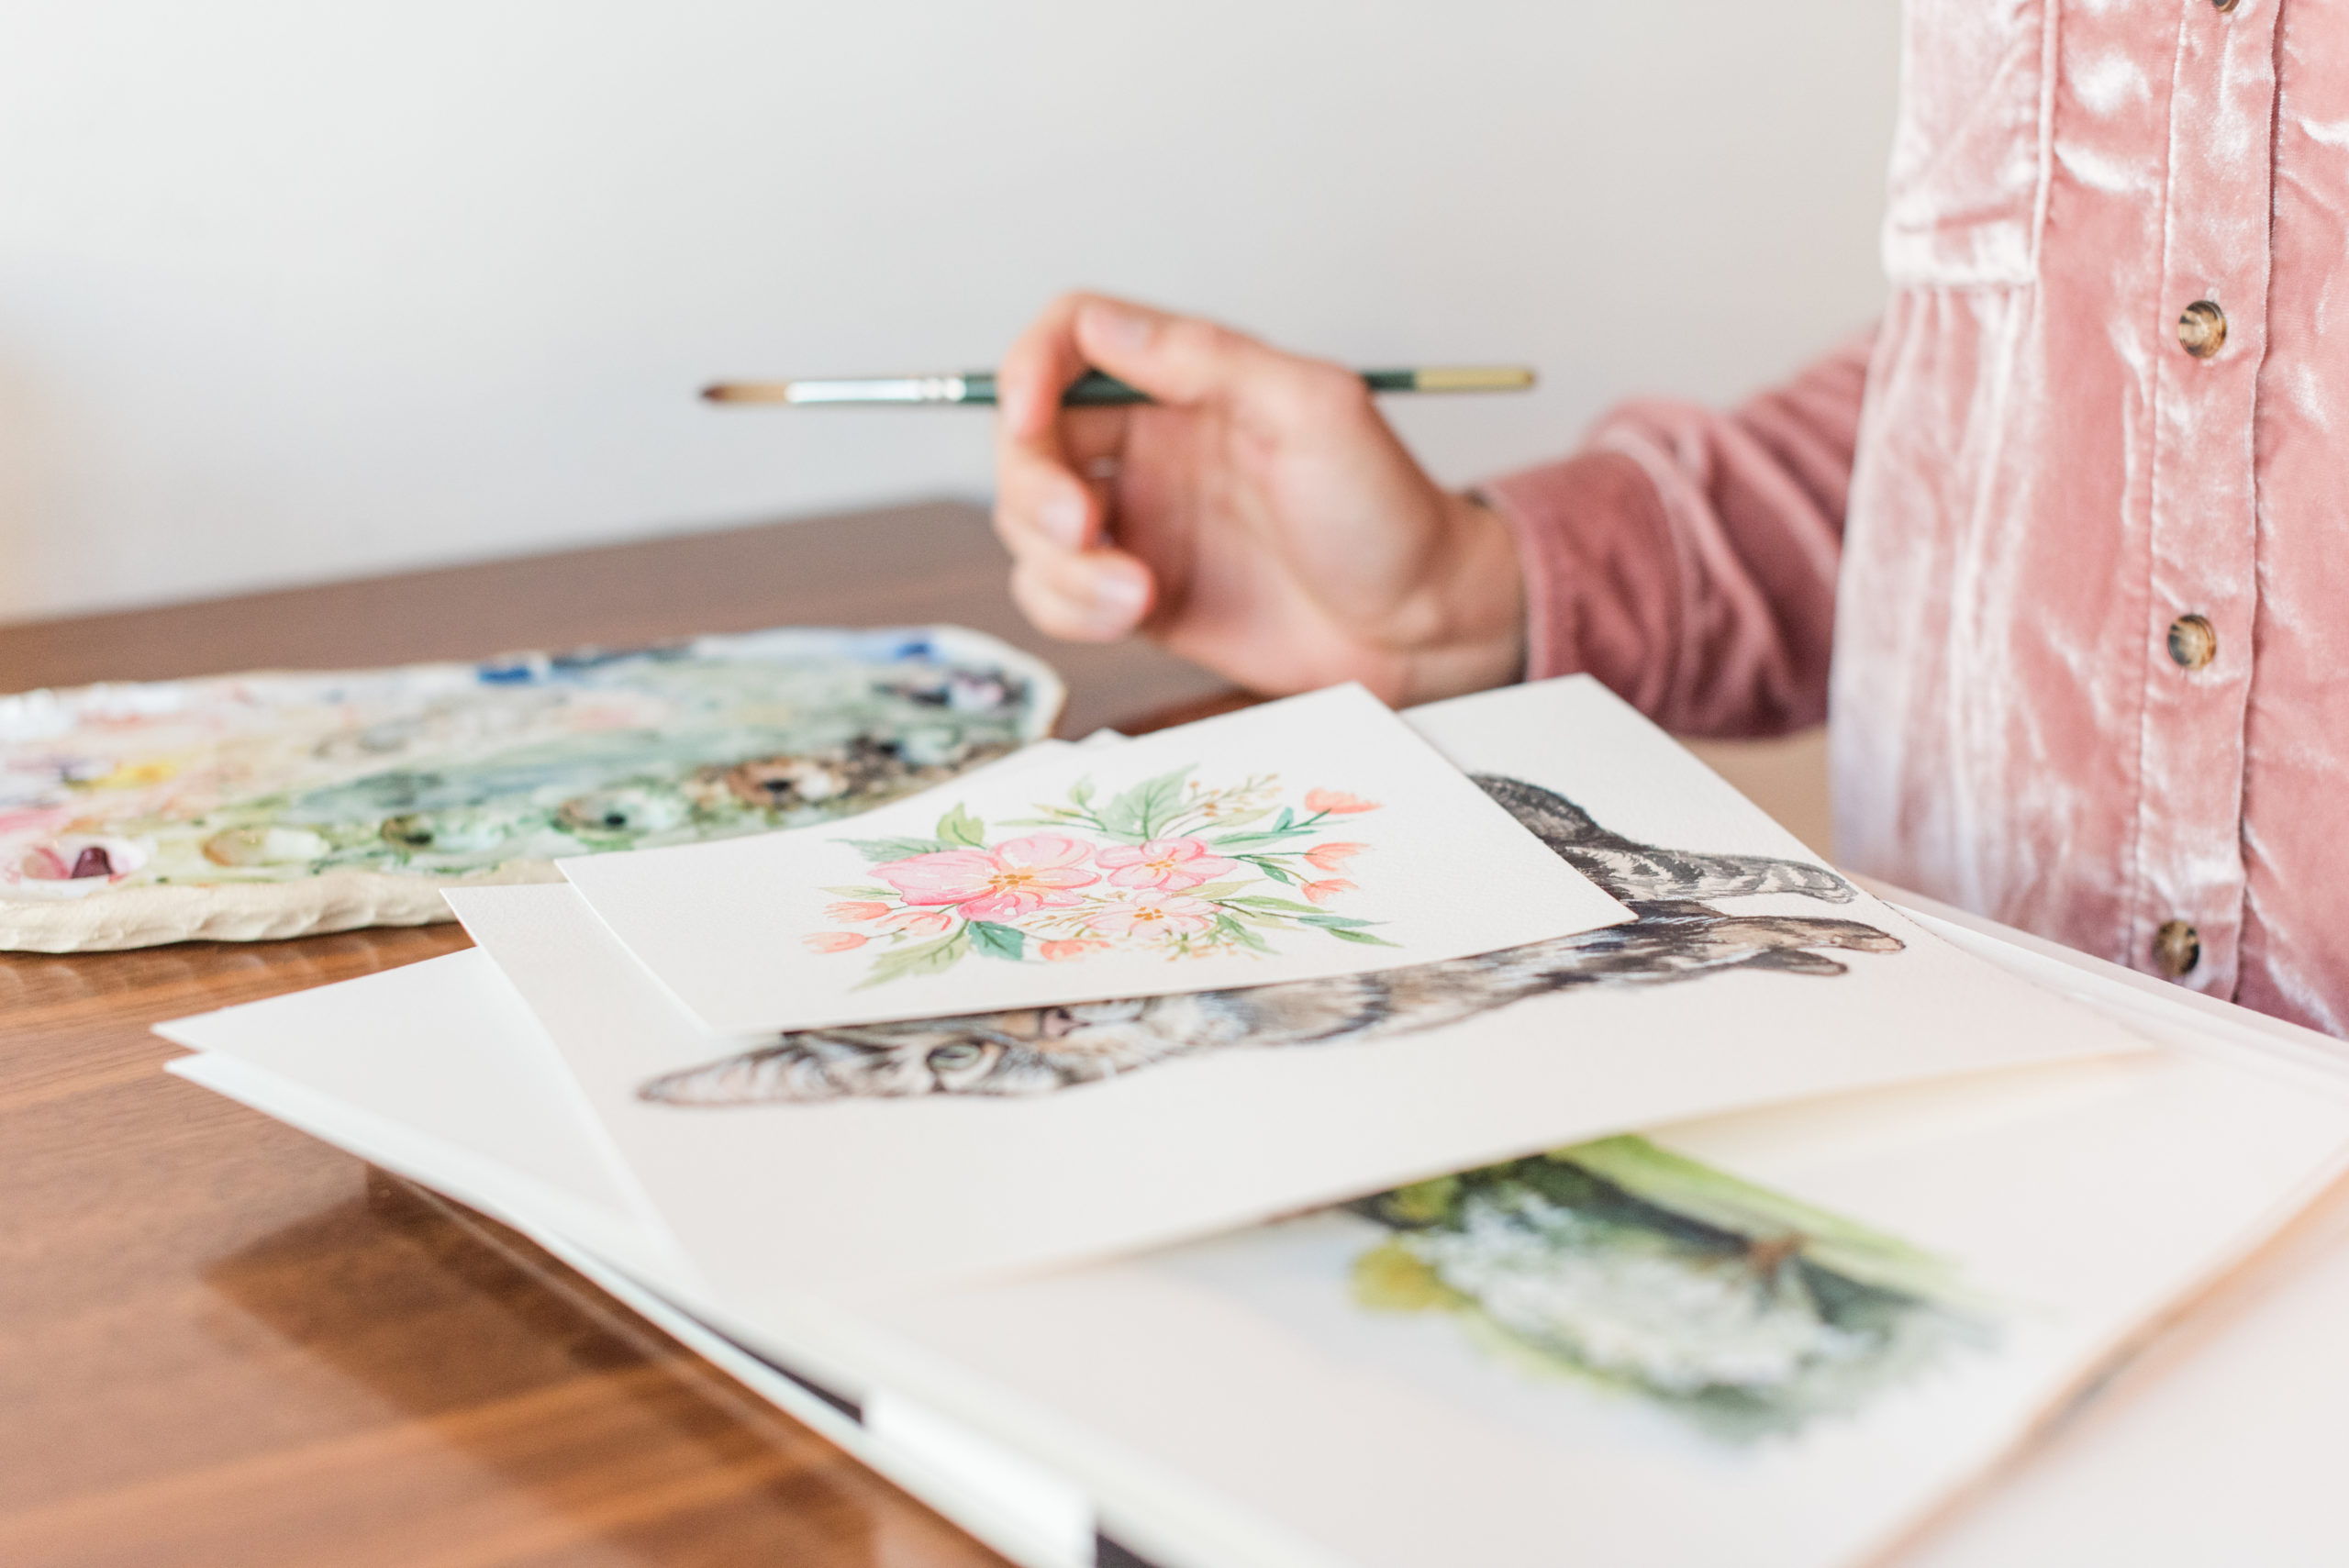
To create this heart shaped die-cut watercolor sticker, I paint each floral element and word separately so I can design the sticker inside of Adobe Photoshop. This is the same process that I use when designing wedding invitations and crests. I do this so I can paint each piece larger and the watercolor illustrations can have more details. It also gives me the flexibility to play with the design and use the painted elements in more ways for the future such as wall prints, cards and mugs. You can paint your own watercolor florals or paint along with me in this video!
Step 2: Scan the artwork into Photoshop
Once the painted pieces are finished, it’s time to start the digitizing process! When it comes to digitizing, it’s very important to have a quality scanner. I use my scanner nearly every single day. So if I break that cost down, it’s way less than a penny a day. It’s such a necessary tool for producing quality work! This scanner fits a little larger than 8×10 paper, but I use it to scan up to 11×14 by simply stitching the two scans together in photoshop.
Watch this video tutorial for step-by-step instructions on how to scan and digitize the watercolor floral artwork to create a die-cut sticker:
Step 3: Remove the background and clean up the scan
When I digitize watercolor artwork, I usually remove the watercolor paper. This creates a cleaner, more professional look for products. I cut out each floral element onto its own layer so I can move it around in Photoshop to create the sticker design. This is also when I clean up the scanned artwork with the clone stamp tool to remove any dust particles that may have been picked up from the scanning bed.
Step 4: Design the sticker into a heart shape
Now that each of the watercolor florals and lettering pieces have been digitized: Scanned, paper background removed & each piece is on their own layer, it’s time to design this heart shaped die-cut sticker! This process is so fun and when the magic happens. It takes some time to play around with the placement for each of the floral pieces. Have fun with this part of the process! Don’t forget to duplicate, rotate and flip artwork pieces as you need. Don’t forget to visit my YouTube video showing the process here.
Step 5: Export the design and upload to Sticker Mule
Once the sticker design is complete, I simply export the file as PNG and then order the sticker through Sticker Mule! Sticker Mule is my go to print vendor for the stickers I sell in my shop. They are AMAZING quality. I personally have placed stickers on my water bottle and have run it through the dishwasher so many times and nothing has peeled – it’s like magic! I love and trust their products.
It’s always worth investing in quality print vendors if you plan to sell your products. Great reviews mean everything for an Etsy shop! To order custom stickers on Sticker Mule, visit their website and click “Products”, “Stickers”, then “Die Cut Stickers”. I order die-cut stickers in the 3″x3” size. That seems to be a standard sticker size for water bottles, laptops and planners. You can even order a small sample quantity if you want to be sure you love the way your sticker prints.
I simply upload my PNG file that I exported of my sticker artwork and place the order on their website. Within 24 hours, they send back a digital proof showing how the sticker will be cut out and this is where you can either make edits or approve the design. Once the artwork is approved, it’s off into production! If you would like to give Sticker Mule a try for your next sticker design, use my link to get a $10 credit towards your next sticker purchase!
Final thoughts
That’s a quick overview of my digitizing art process and how I create stickers that I sell in my shop and at art markets. It’s such a fun process to design products from hand painted artwork! If you’re interested in selling stickers, I encourage you to give this tutorial a try. I’d love to see your sticker designs! Let me know where I can find your shop in the comments of this post!


